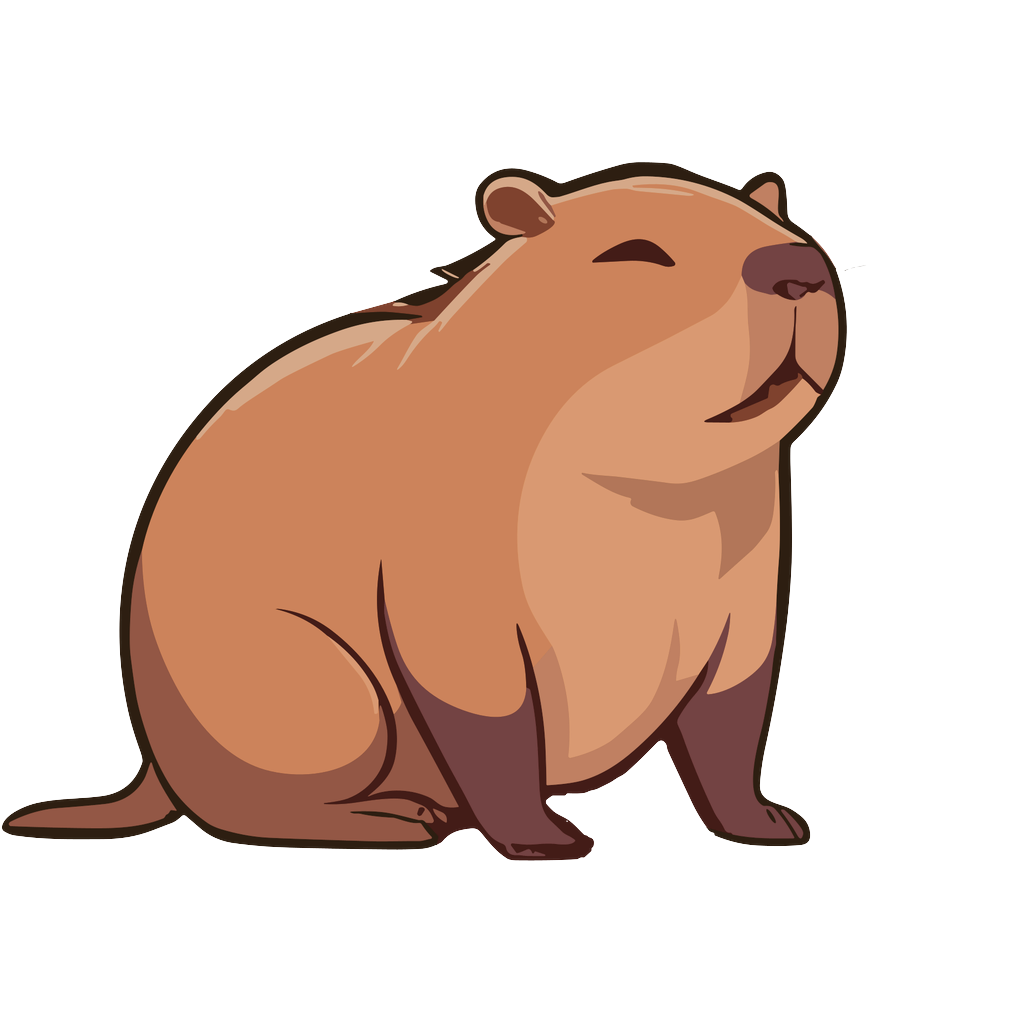
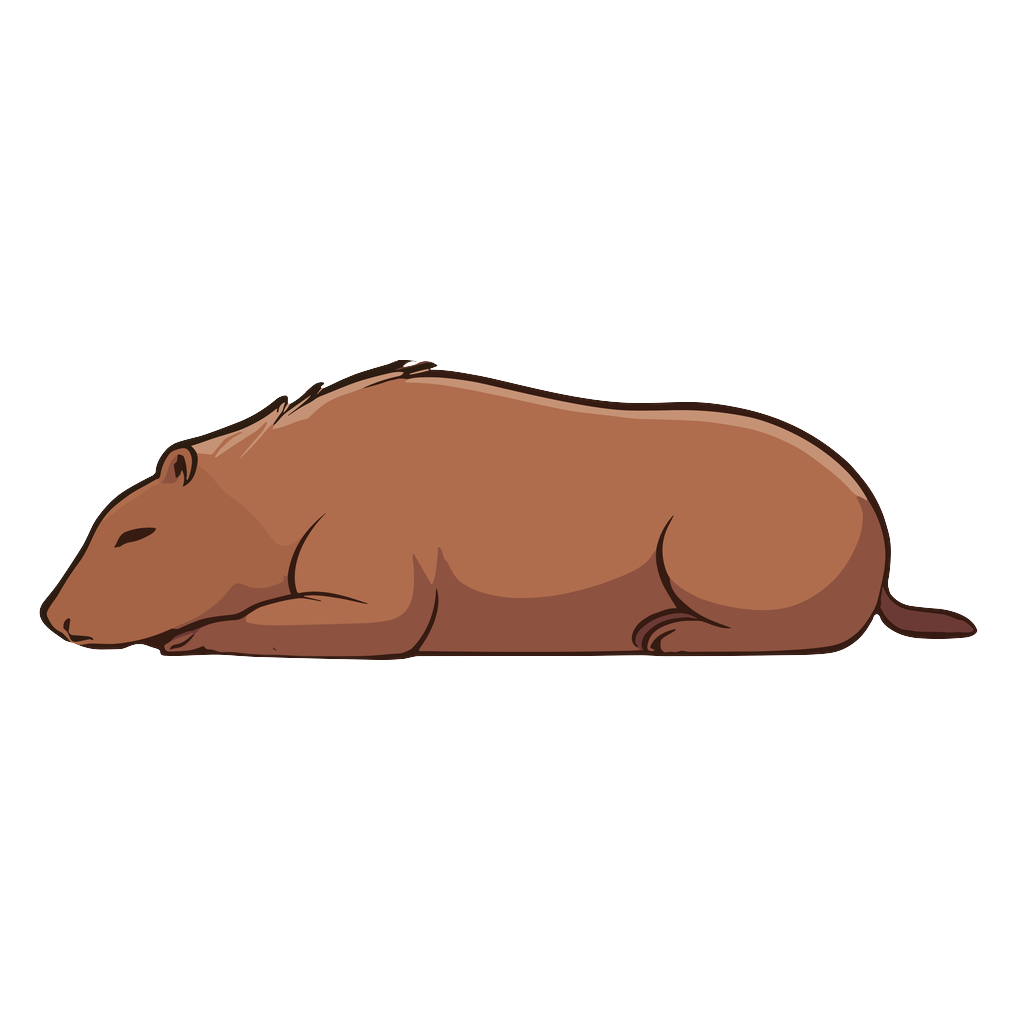
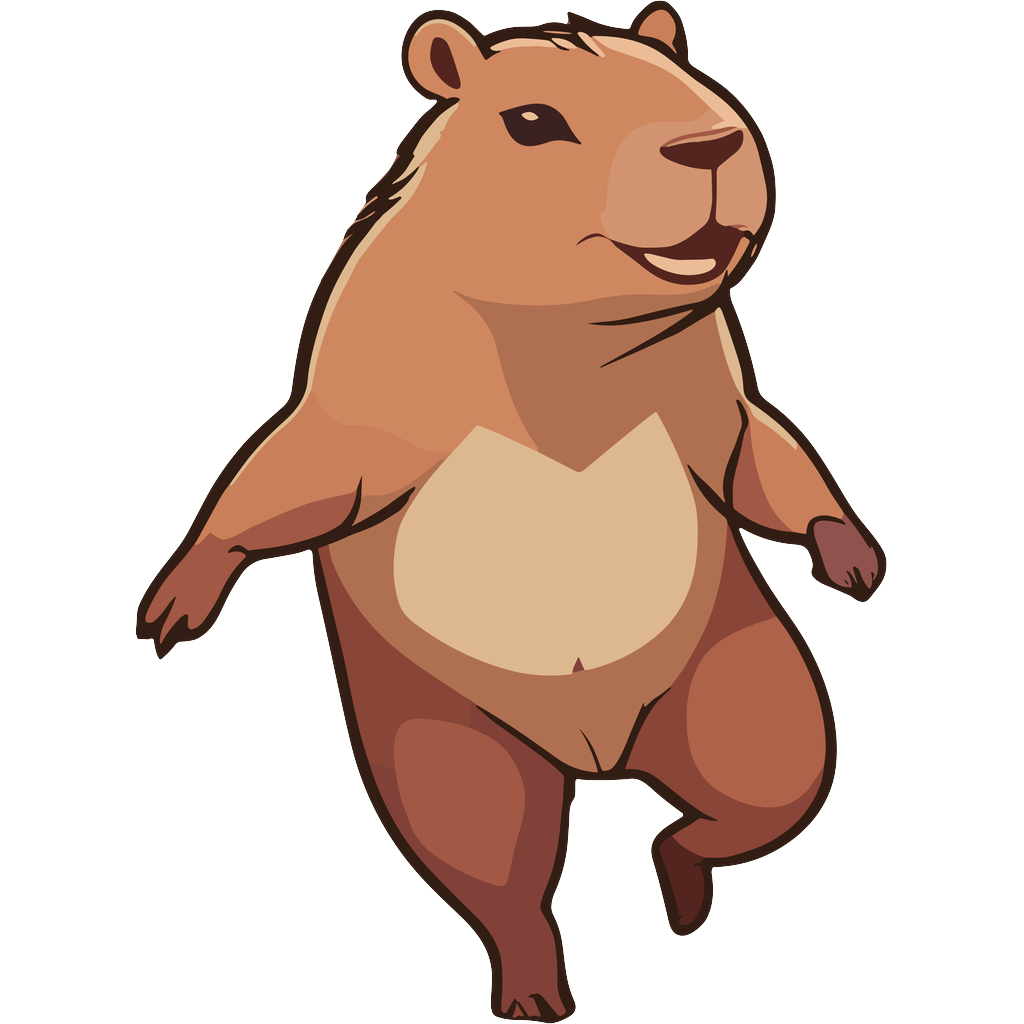
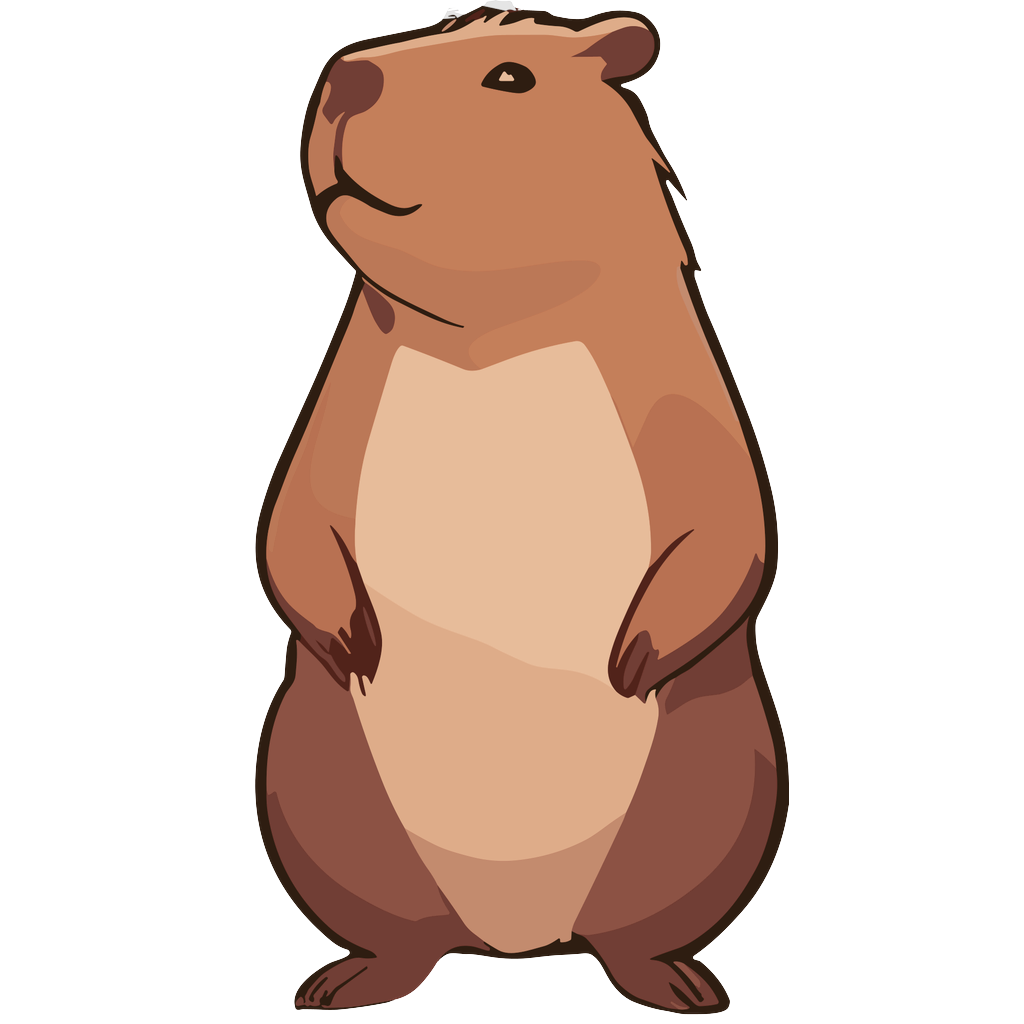
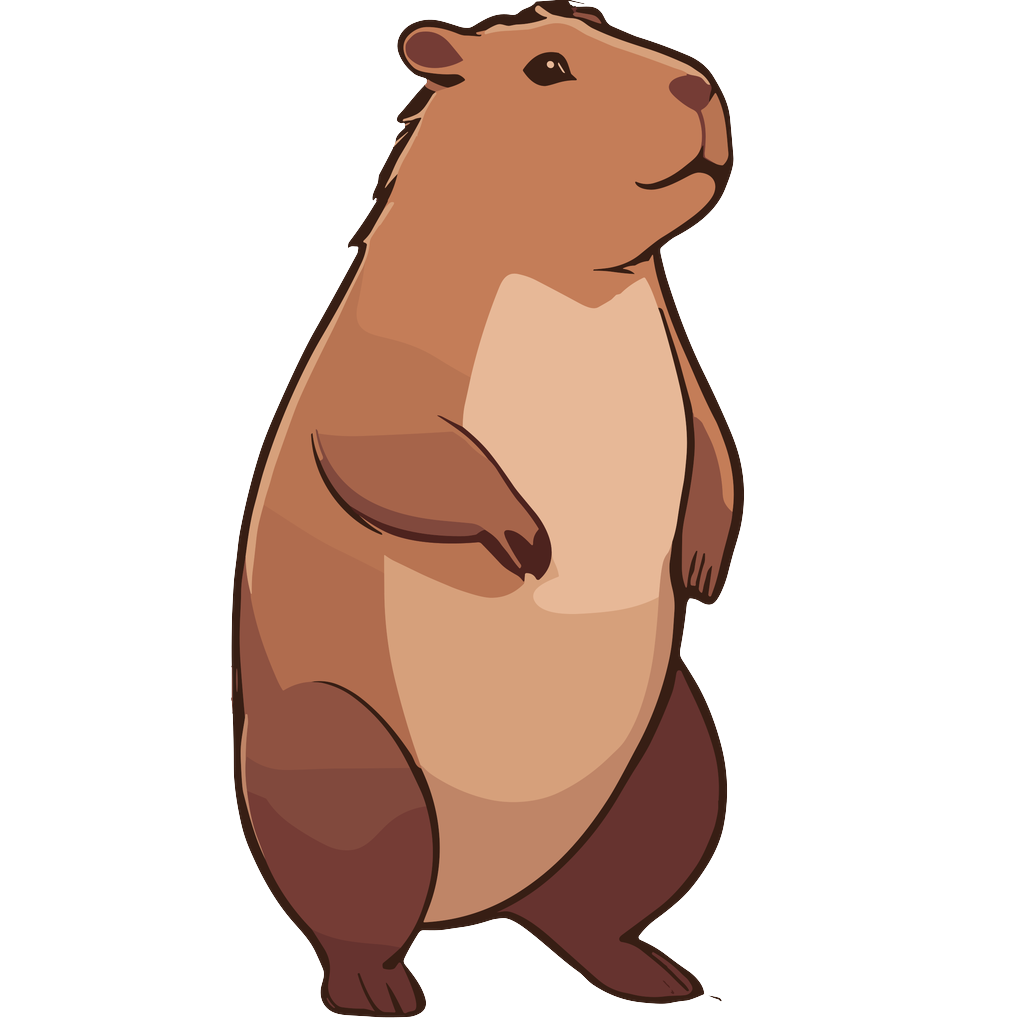
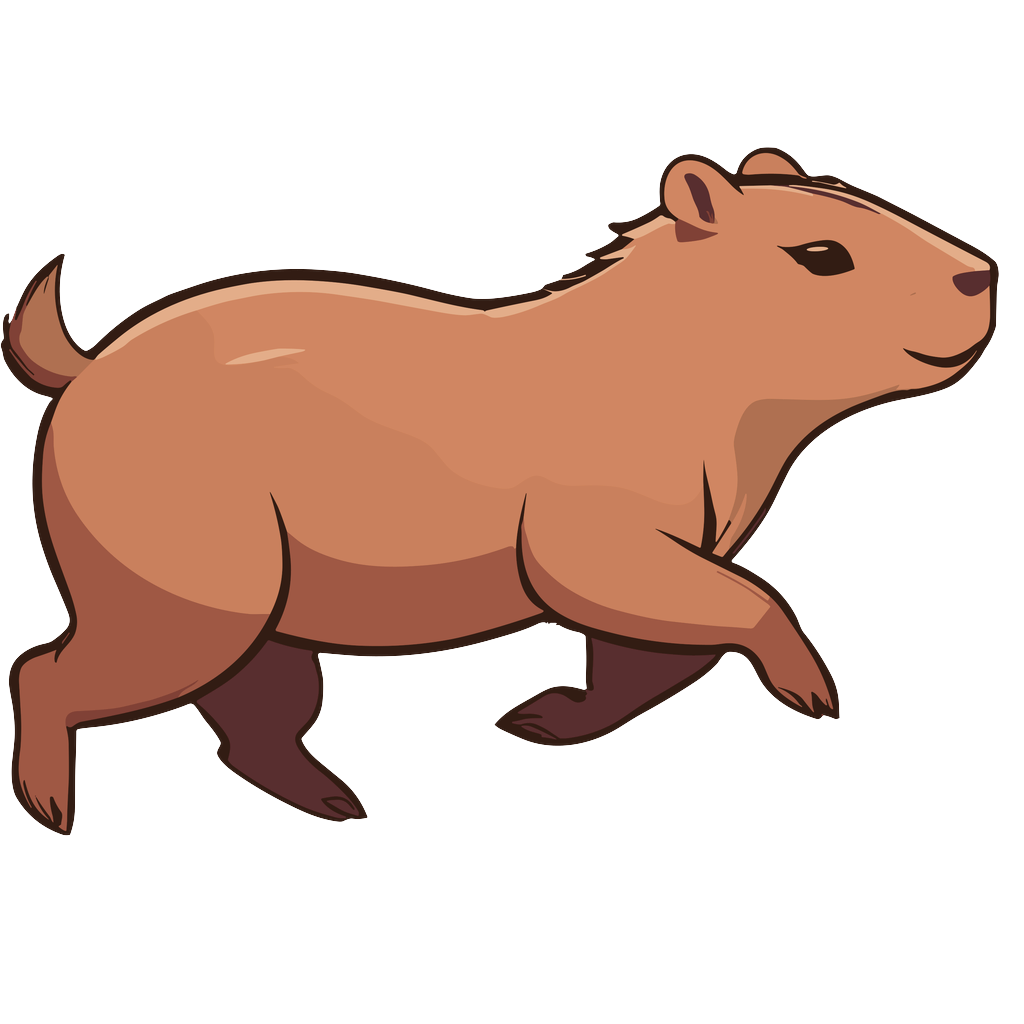
Step 1: Generating AI Art with Leonardo AI 🛠️
I start by using prompt engineering in Leonardo AI to generate detailed and unique wildlife and fantasy illustrations. The goal is to get a strong foundation that I can refine later.
Alternative option to Leonardo AI:
- MidJourney
- Stable Diffusion
Step 2: Extracting & Organizing Images with Python 🤖
Once I have a batch of AI-generated images, I use Python scripts to extract individual illustrations, making it easier to process them efficiently.
Step 3: Manually Removing Low-Quality AI Images 🛠️
AI doesn’t always get it right. Some images might have distorted anatomy, weird details, or missing features. I manually filter out bad images, keeping only the best ones.
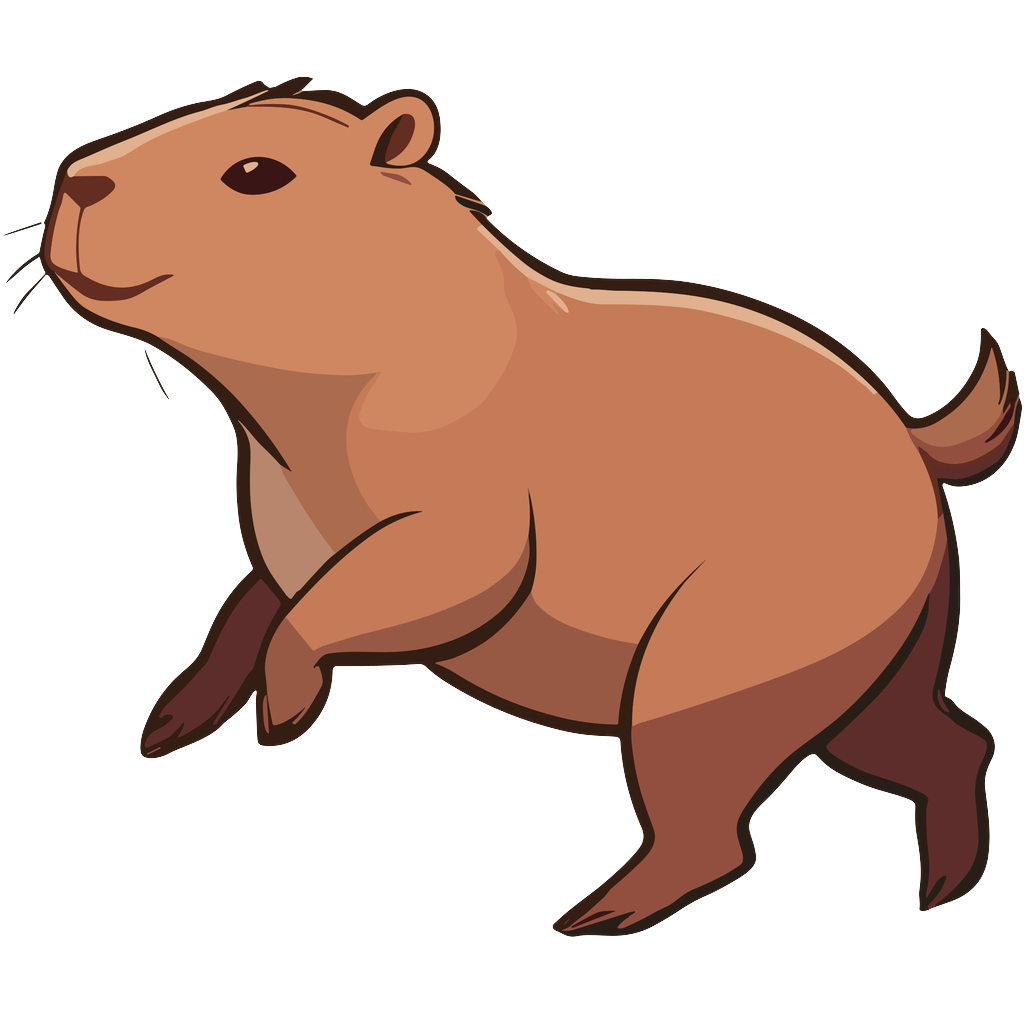
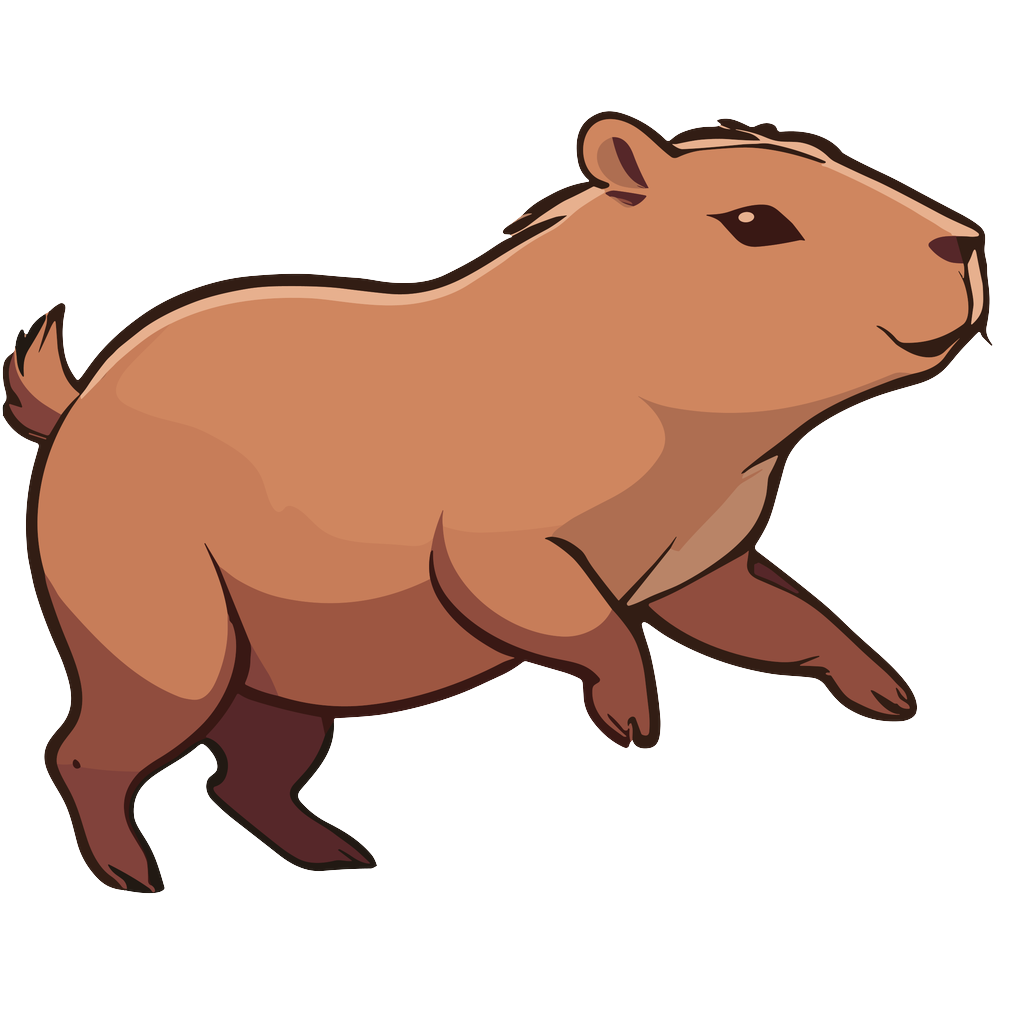
Step 4: Upscaling & Removing Backgrounds with Python 🤖
To ensure high resolution and usability, I use Python scripts to upscale the images and remove backgrounds, creating clean, transparent artwork that designers can easily work with.
Step 5: Enhancing & Fixing Imperfections in Affinity Photo 🎨
This is where I refine the artwork by:
- Fixing AI-generated mistakes (e.g. weird shapes, missing details)
- Enhancing color, contrast, and clarity
- Ensuring smooth and polished edges
This step ensures that the artwork looks professional and high-quality before finalizing it.
Alternative to Affinity Photo:
- Adobe Photoshop
Here’s a guide on creating character consistency by a Youtuber, Snowball AI
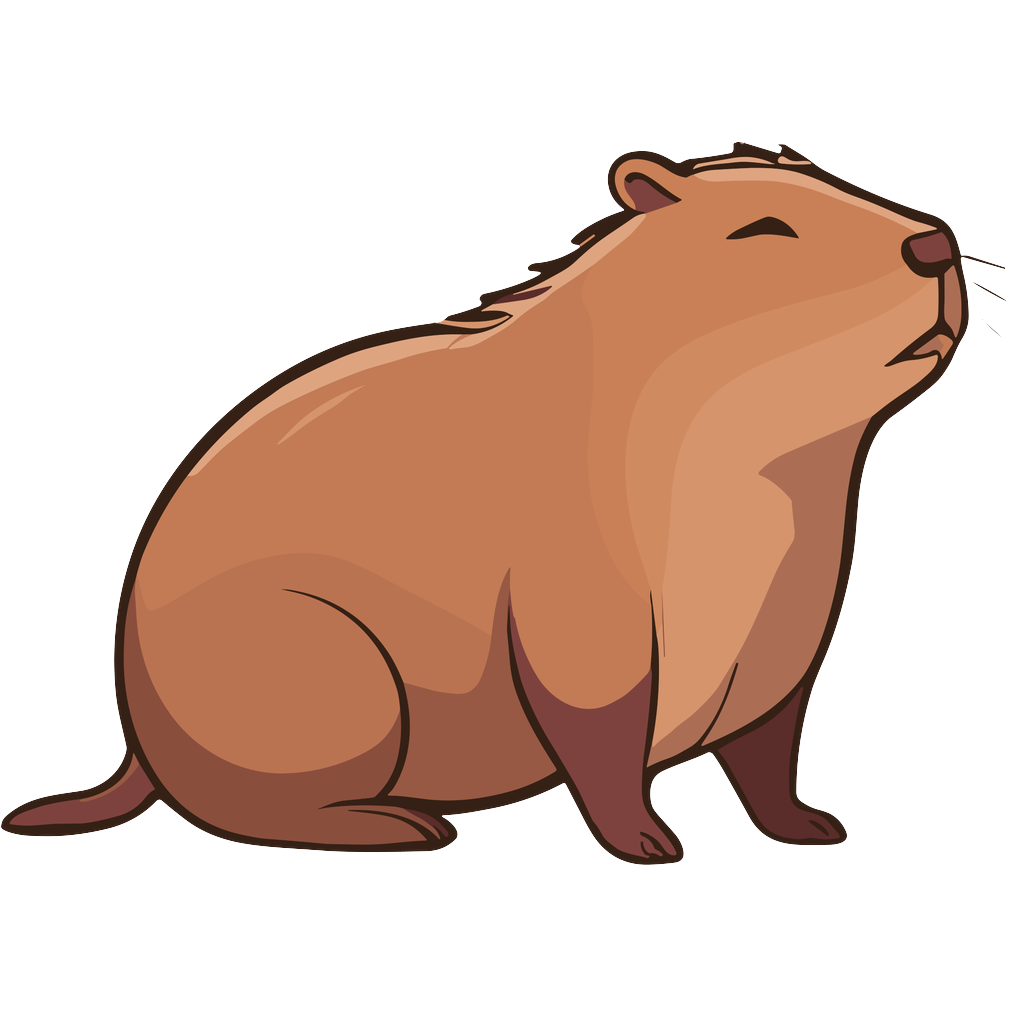
Step 6: Converting to SVG, Creating Thumbnails & Resizing with Python & Inkscape 🤖
After the artwork is fully refined, I proceed to:
- Convert the illustration to SVG for designers who need scalable vectors
- Resize and format it into JPG & PNG for different use cases
- Generate thumbnails for previews on GetWildlifeArt.com
I automate this using Python and Inkscape, ensuring that every illustration is perfectly formatted.
-
If this post helps, do support me at
-
